After completing the posters in indesign, we could then start making our interactive blogs. To do this we first had to learn how to add interactive elements.
The main interactive element we were using was the button, by changing the settings of the button we could make the document go to the next page when the button is clicked.
After I understood the basic elements of adding buttons I could then form a home page and then using what I had learnt about text and images I could then add blog posts to the document.
 |
| My Homepage |
To make the pages a bit more visually interesting, I added some circles at the top and bottom of the homepage & other pages and made the text boxes (on the other pages) so that they were tinted with colour. Another thing I added was drop shadows to make the boxes standout from the white background a bit.
I also made sure that the majority of the elements on the pages lined up with the columns, so that it looks organised and I also left empty space at the sides so that nothing gets cut of when viewed on different devices. i also added transparent black boxes at the top and bottom of the pages so that these parts were seperated from the content and therefore made the buttons stand out a bit more.
 |
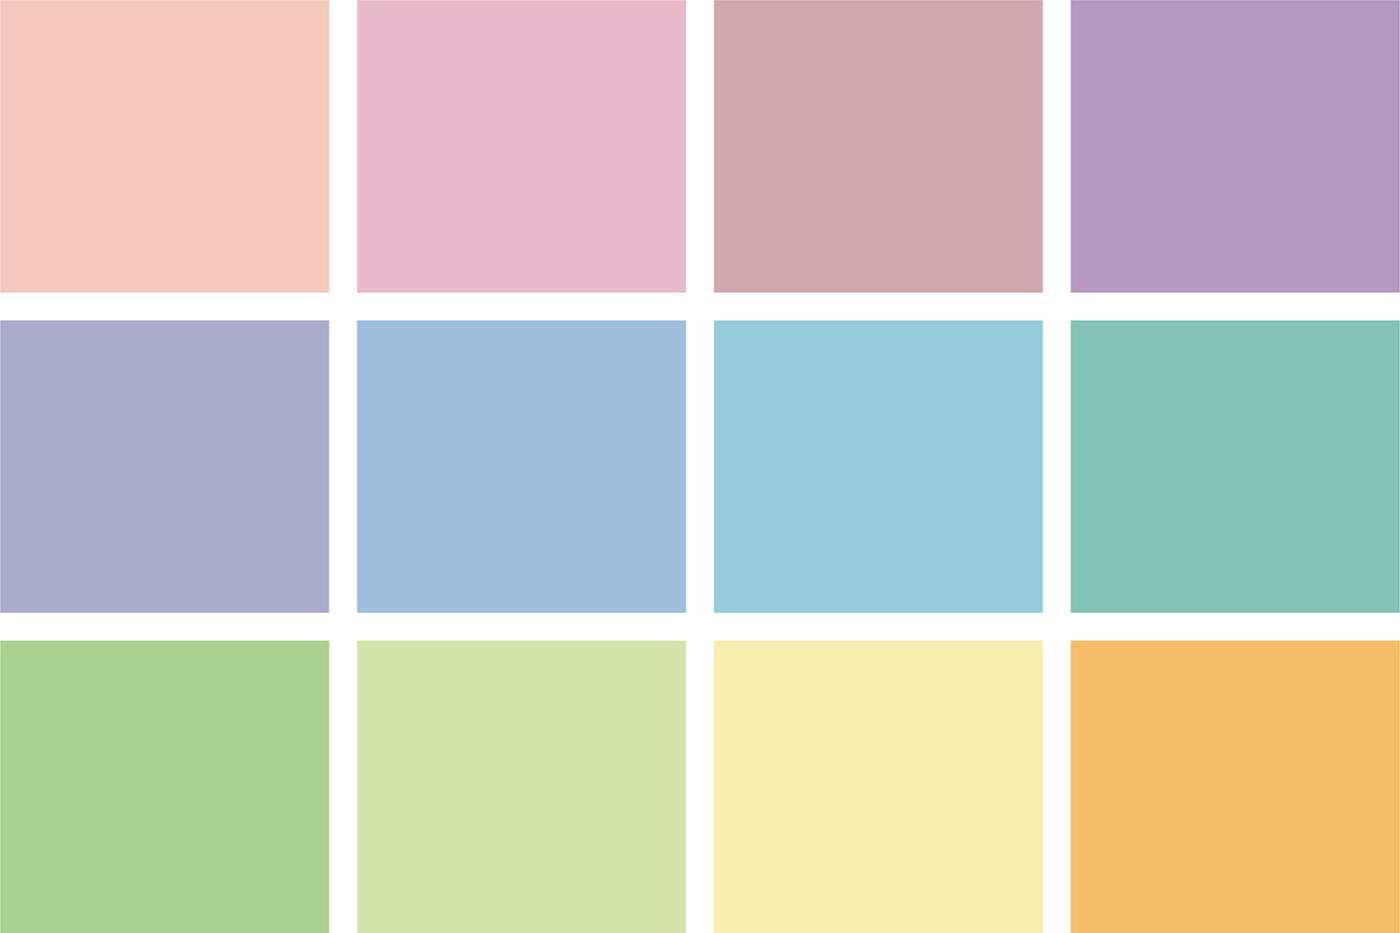
| The colours I used for the home page and circles, Link. |
One thing which was a bit challenging was laying out the text and photos so that the text was read-able but also consistent. This was most challenging for pages where I had written a lot of text. Other than that, I think I could maybe improve my interactive blog by maybe making it a little bit more interactive?
 |
| One of my other pages. |


Comments
Post a Comment