Today we had a look at Indesign, but first we needed to create some images to use. To do this we found a photo (of a person) with a white background, by searching "Face White Background". Once we had found our image we brought it into photoshop and saved it as a 'TIFF' file. After the image was saved we then made the image 'grayscale' (Image > Mode > Grayscale) and saved again (As a different file). We could then convert the image to a 'Bitmap' (Image > Mode > Bitmap), this allowed me to create the two images below. There are different options for making Bitmaps so we experimented with those and saved all the different variations. Changing the 'levels' (Image > Adjustments > Levels) also changed the way the image looked after being converted into a Bitmap.
 |
| 50% |
 |
Halftone
|
After this we set up our documents so that they were the size of an A4 page, had 20 pages, 5 columns, 4mm gutter, 10mm margins and 3mm bleed. We then learnt about master pages and how to add boxes to the page and to use alt to duplicate them, we could then create a page layout using boxes.
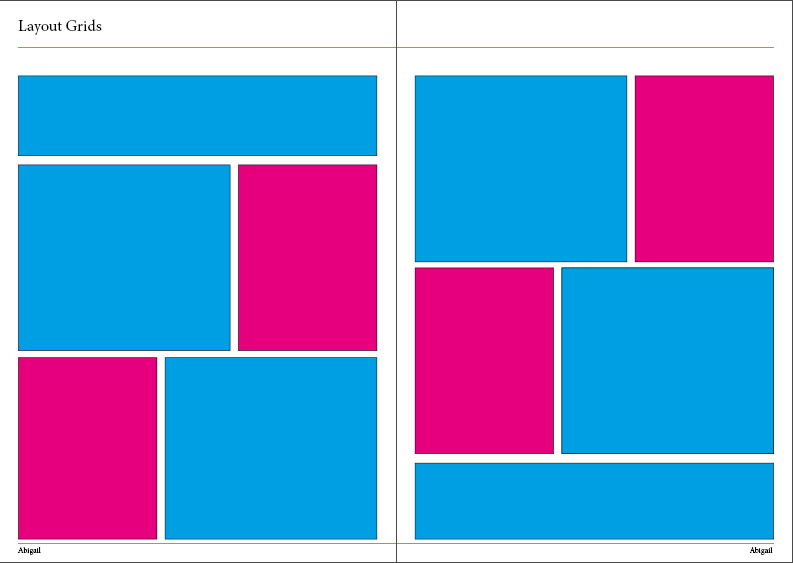 |
Page layout
|
After this we looked at the different 'Effects' (Object > Effects or Window > Effects ) we could apply to shapes.
 |
| Different effects which can be used |
Next we looked at text, including how to link text boxes and how to write on a line. We also looked at how to add images and how to change the colour of the Images we created in photoshop.
 |
| Text |
 |
| Photos |
Finally we looked at how to wrap text around images and experimented with the techniques we had learnt.
 |
| Text and Photos |


Comments
Post a Comment